Our custom-made chandeliers are designed to be cleaned with multiple methods and in efficient ways
Don't worry, none of the methods is super time consuming. It is normally necessary to clean any of our chandeliers once a year or if you feel like it.
Before starting cleaning any chandelier, make sure you read this article first!
Once you have decided to do the cleaning of your chandelier, please make sure to:
- turn it off from the mains and DO NOT turn it on for at least 2 hours after the cleaning process has been finished. It is necessary to physically disconnect this electrical device from the mains.
- this job is recommended to undertake ideally in 2 persons
- have all the necessary tools and cleaning materials (read below)
- gloves
When reassembling any parts of a cleaned chandelier, make sure to use gloves in order not to leave any finger prints on the surfaces.
- pure Isopropyl alcohol (IPA) in a spray dose
- large plastic sheet to place underneath the chandelier (we recommend its size to be at least twice as larger than the chandelier base)
- ordinary window cleaner in a spray dose (not containing alcohol, only Isopropyl alcohol / IPA is allowed)
- ladder (height to be so you can reach up to the base of the chandelier)
- clean washing machine (for washing removable glass components only )
- at least 2pcs of clean fibre cloth - 1 for wet cleaning, 1 for dry polishing
- make sure you can easily manipulate underneath the chandelier. Move all furniture and other movable objects aside and cover them properly.
- gloves
Cleaning method 1: Chandeliers with REMOVABLE GLASS components (a more thorough method)

This method is ideal for all chandeliers, whose glass components can be taken apart and easily put together again. Be careful about the design of glass pieces - you may not be able to produce the same design output as before. If you are worried about redoing the design again, then please use a METHOD 2.
Suitable for: INFINITO-FIBRES, INFINITO-SCULPTURE, ASTER, RHEA, TWIRL
All of these designs come with an "earing" type of a clip on a fibre. The clip is easy to open, so please do so and remove the glass piece from it. Ideally, place it directly into the washing machine the way that it does not move throughout the cleaning process.
Please make sure not to bend the fibre during this removing process or do not use any strain nor pull the glass away from the earing. It all has to be done slowly and in manners that no optic fibre, the earing nor the glass is damaged.
- before placing any of the glass into the washing machine, make sure to clean the insides of the machine perfectly. You can use any program or detergent agent / capsule suitable for glass washing during this glass pre-washing process.
- after the glass components have been removed from the chandelier and placed into the washing machine the way that they are secure from any movement, you can start the washing cycle. Please use a less heated cycle during this process.
- whilst the washing is on, you can manually clean the optic fibres and earing clips. For this purpose use a window cleaner NOT containing any kind of alcohol (ONLY Isopropyl alcohol / IPA is safe to use). Apply it to a soft cloth.
- manually clean the fibres with a damp soft cloth by gently holding it between your two fingers from top to bottom. Please pull your fingers gently downwards and refrain from using any strength. While doing this, make sure you do not touch the mirror base surface in any way, otherwise you will have to clean the surface of it, which is very difficult with surface scratches to be done easily. This is a unrepairable. You could also quite easily damage the fibres coming out from the base, making them damaged or even broken.
- once all the fibres have been cleaned and the glass components washed, you can reassemble everything by reversing these steps.
BASE of chandeliers
For majority of chandeliers we use mirror finish which is both beautiful and prone to scratches at the same time. Even though the bottom and side parts can be cleaned with window cleaner (no alcohol) and polished with fibre cloth, it is very important to have pristine clean cloth and the pressure applied must be very gentle. Try cleaning the surface somewhere less visible first, so you are happy with the outcome and that the pressure applied is right.
Be also aware not to scratch the base in any way OR not to apply any cleaning agent directly onto the base (apply it to a fibre cloth instead) nor into the holes where LED downlights or light sources are. It may lead to destruction of the electronics inside or to surface scratching - both IRREVERSIBLE.
Cleaning method 2: Chandeliers with NON-REMOVABLE glass parts (most common and easiest method)
It may be sometimes time consuming to remove all glass components or you are worried about destructing the overal design you have purchased. And lastly, you may own a chandelier, where glass parts have come as a part of the chandelier and are not to be removed from the cables. This method is for you.
Suitable for: All chandeliers mentioned in a METHOD 1 + INFINITO-LED, AQUILA, LURE, LEAF, ELUDA, RIMA, TENERIS, SPECTRA, MODULINO, CRYSTALLION, SOLINA, VEIN

Even though these two designs TENERIS and SPECTRA come with earing type clips and one may think that you can use the Method 1, it is not that straightforward. The earing clips hold a large quantity of crystal balls and it takes a serious amount of know-how and experience to put crystals back to their positions, we strongly recommend using this method rather than a previous Method 1 for their cleaning.
SOLINA is designed with large glass tubes, which have been pushed inside into the LED fittings and which are held by silicone rubber in order to seal and hold the glass in its place.
For standard cleaning purpose (if not very dirty inside) we do not recommend you to disassemble the glass parts, as you might damage the glass or injure yourself during the process.
Removing the glass parts is recommended only for large installations and by experienced staff only.
Cleaning should be performed on the outside of the glass and inside (with a feather cloth) and hence in a fully assembled state (below method).
MODULINO is very interesting design with almost all parts replaceable and serviceable. As it has been designed to form massive & tall light installations, it would take too much time to disassemble each glass and electronics inside of it and reassemble it back.
Hence we recommend to clean this chandelier type in a fully assembled way using this Method 2.
All these designs come with glass parts which are not normally replaceable. Hence, cleaning of these chandeliers should be performed in fully assembled way.
1. Place large plastic sheet underneath the chandelier (2-4x larger than the size of the base)
2. Make sure the room is free of any obstacles and well ventilated. Place the ladder underneath the chandelier.
3. Spray window cleaner (ideally Isopropyl alcohol / IPA) from top to bottom from all sides to get on all components. If the base surface is not very dirty, try to prevent applying the window cleaner on its surface (cleaning the surface is more time consuming) Focus on spraying mainly the hanging wires, hanging components, these will contain most dirt and dust.
4. Leave the window cleaner to apply for 2-4 minutes
5. After few minutes, spray alot window cleaner from top pointing downwards, so it will continuosly drip and take away all the dust and dirt to bottom, leaving the top parts clean. Apply alot window cleaner, once top parts start to become clean, move more downwards. After most of the dirt was dripped, and most of the top parts are clean, you can manually finish the cleaning of the glass parts where are some dirty leftovers.
6. As a last detail, you can manually clean and polish all the wires and components by applying small amount of window cleaner on the cloth and manually cleaning it. Always Continue from top to bottom, and never pull the wires / fibres hard. Behave gently.
Normally whole cleaning takes about 1-2hours, normally it is sufficient to clean the chandeliers 1-2x per year.
BASE of chandeliers
For majority of chandeliers we use mirror finish which is both beautiful and prone to scratches at the same time. Even though the bottom and side parts can be cleaned with window cleaner (no alcohol) and polished with fibre cloth, it is very important to have pristine clean cloth and the pressure applied must be very gentle. Try cleaning the surface somewhere less visible first, so you are happy with the outcome and that the pressure applied is right.
Be also aware not to scratch the base in any way OR not to apply any cleaning agent directly onto the base (apply it to a fibre cloth instead) nor into the holes where LED downlights or light sources are. It may lead to destruction of the electronics inside or to surface scratching - both IRREVERSIBLE.
Cleaning method 3 :
Chandeliers with other than glass parts

This method is for specific materials, unusual designs, non-easy or non-removable lights, where removing end components might be too risky for the overall chandelier design or durability.
Please read the disassembly instructions first that apply to each type of a chandelier and then read the Common cleaning instructions for this group of chandeliers, which is common for all of them.
Suitable for : (GRAIN, STILIA, TREA)
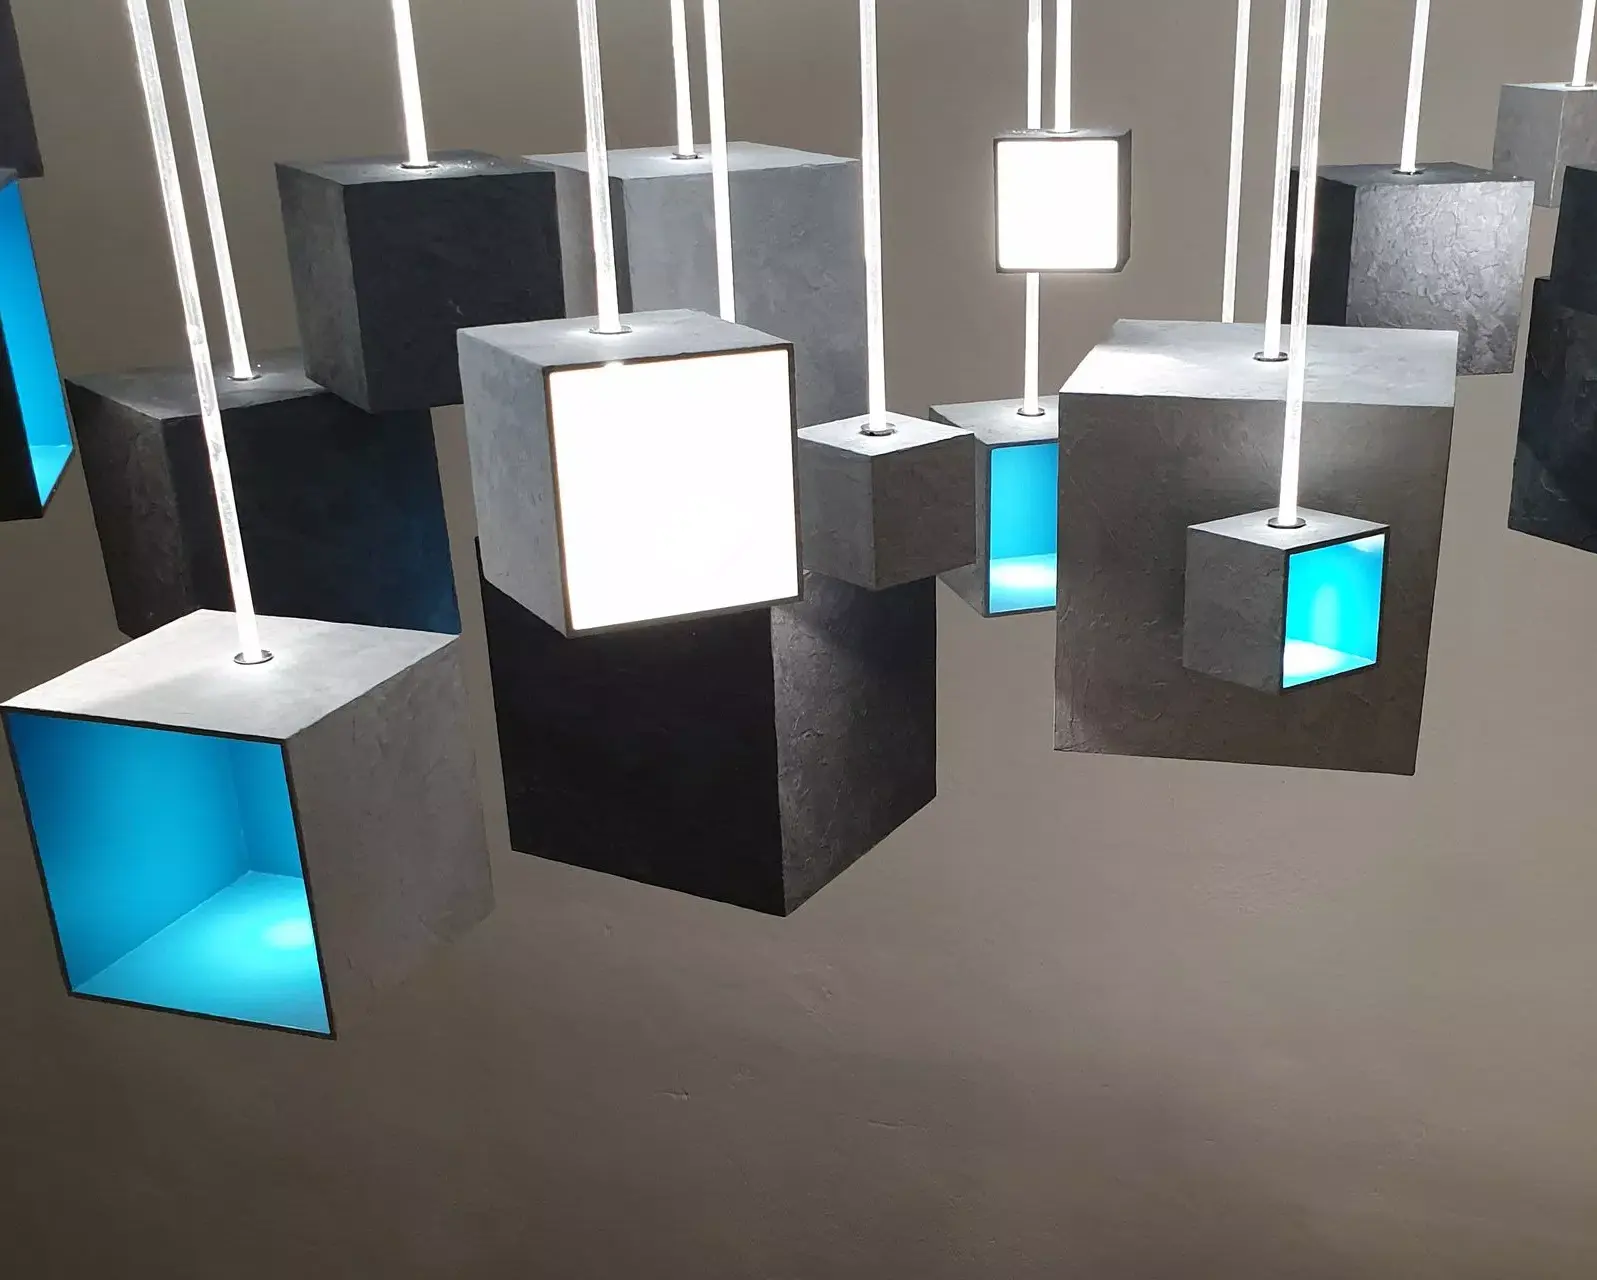
The cubical elements, which hang at the end of light rods, are removable. You can clean the outer and inner parts of the cubes directly on the chandelier, or if needed, you can dismantle them from the chandelier.
Artistically finished cubes can be unscrewed or replaced from the fitting using this step by step method:
- hold tiny ring (bolt) found inside the cubes, and turn it anticlockwise. You can also twist it by turning the top part (screw), too.
- light rod if needed, can be unscrewed in a similar way from the base by holding the top stainless steel screw with hand and then turn anticlockwise until fully removed.
Please note that both ends of the light rod are non-exchangeable, meaning that you cannot turn the light rod in a different direction or into a different hole. Once reassembling the luminaire, ensure that you do not turn it the other way around, as this may damage the LED modules inside the base.
STILIA design is made from light rods, which are held in their fixed positions by our unique push&hold system. To remove the light rods, simply pull them out of the base. Be aware that they are of different length and/or different shape so memorise its overall design before disassembling it. If you can not make sure they will not get mixed up during the cleaning process, remove and clean them in smaller groups.
Once cleaned and well dry, return the light rods into the base by pushing each down into their hole. The ends to be pushed into the base might have more rounded off edges so in any case you twist them round, this is the good sign to look for.
TREA contains 8 thick light rods, which are pushed into the LED light source hole. They can be pulled out easily. The same step by step process applies as for STILIA.
GRAIN CUBES
are to be cleaned with fibre cloth and a small amount of window cleaner. Please do not apply it to the grain finish directly but onto the fibre cloth and only then clean the cubes.
- outer finish: Do not use much cleaning agent and ideally use Isopropyl alcohol (IPA) in order to dampen the fibre cloth. Then gently apply onto the outer finish. Try not to pull but rather apply and take away your hand.
- inner finish: if the inner finish is glossy, that means it has been sprayed over so you can use the damp fibre cloth like for the outer finish. If the inner finish is golden and sandy, please use dust blower ball in order to get rid of excessive dust. You can lightly apply damp cloth also (with IPA), try not to pull but rather apply and take away your hand.
- inner edges can be cleaned with ear buds dipped in a window cleaner, ideally in Isopropyl alcohol / IPA.
LIGHTRODS
NEVER use any solutions containing alcohol as even the smallest amount of alcohol may lead to create microscopic cracks into the material and the light rod will eventually break. Even some window cleaners can contain alcohol, so please do not use it unless it clearly states taht it contains ISOPROPYLALCOHOL (IPA), which is the only kind of a cleaning solution to be safe for cleaning such pieces.
BASE of chandeliers
For majority of chandeliers we use mirror finish which is both beautiful and prone to scratches at the same time. Even though the bottom and side parts can be cleaned with window cleaner (no alcohol) and polished with fibre cloth, it is very important to have pristine clean cloth and the pressure applied must be very gentle. Try cleaning the surface somewhere less visible first, so you are happy with the outcome and that the pressure applied is right.
Be also aware not to scratch the base in any way OR not to apply any cleaning agent directly onto the base (apply it to a fibre cloth instead) nor into the holes where LED downlights or light sources are. It may lead to destruction of the electronics inside or to surface scratching - both IRREVERSIBLE.

